 ,
Canadian orders ship from Canada
,
Canadian orders ship from Canada
 .
.





Learning the process on how to make a pipe with a can provides smokers with a variety of options when seeking a quick fix. Whether experiencing urgency or seeking an economical alternative, mastering this skill proves highly advantageous. This endeavor not only satisfies the immediate need for a smoking device but also promotes creativity by repurposing everyday items. The goal of this guide is to equip smokers with the necessary knowledge and expertise to fashion their own homemade pipe using a can, offering a sustainable and easily accessible option. By avoiding the use of foil, which concerns many health-conscious individuals due to potential risks, this approach prioritizes the safety and well-being of smokers. Emphasizing simplicity and convenience, this resource provides smokers with the means to create a homemade pipe that meets their immediate needs and instills a sense of accomplishment in repurposing ordinary household items.
Whether utilized for personal enjoyment or shared with others, mastering the technique of making a pipe from a can proves to be a valuable skill for any smoker. This skill not only provides a practical solution in times of need but also fosters resourcefulness and self-sufficiency. With an emphasis on safety and satisfaction, learning how to craft a pipe from a can offers smokers a versatile and fulfilling smoking experience.
1. Gather Your Materials
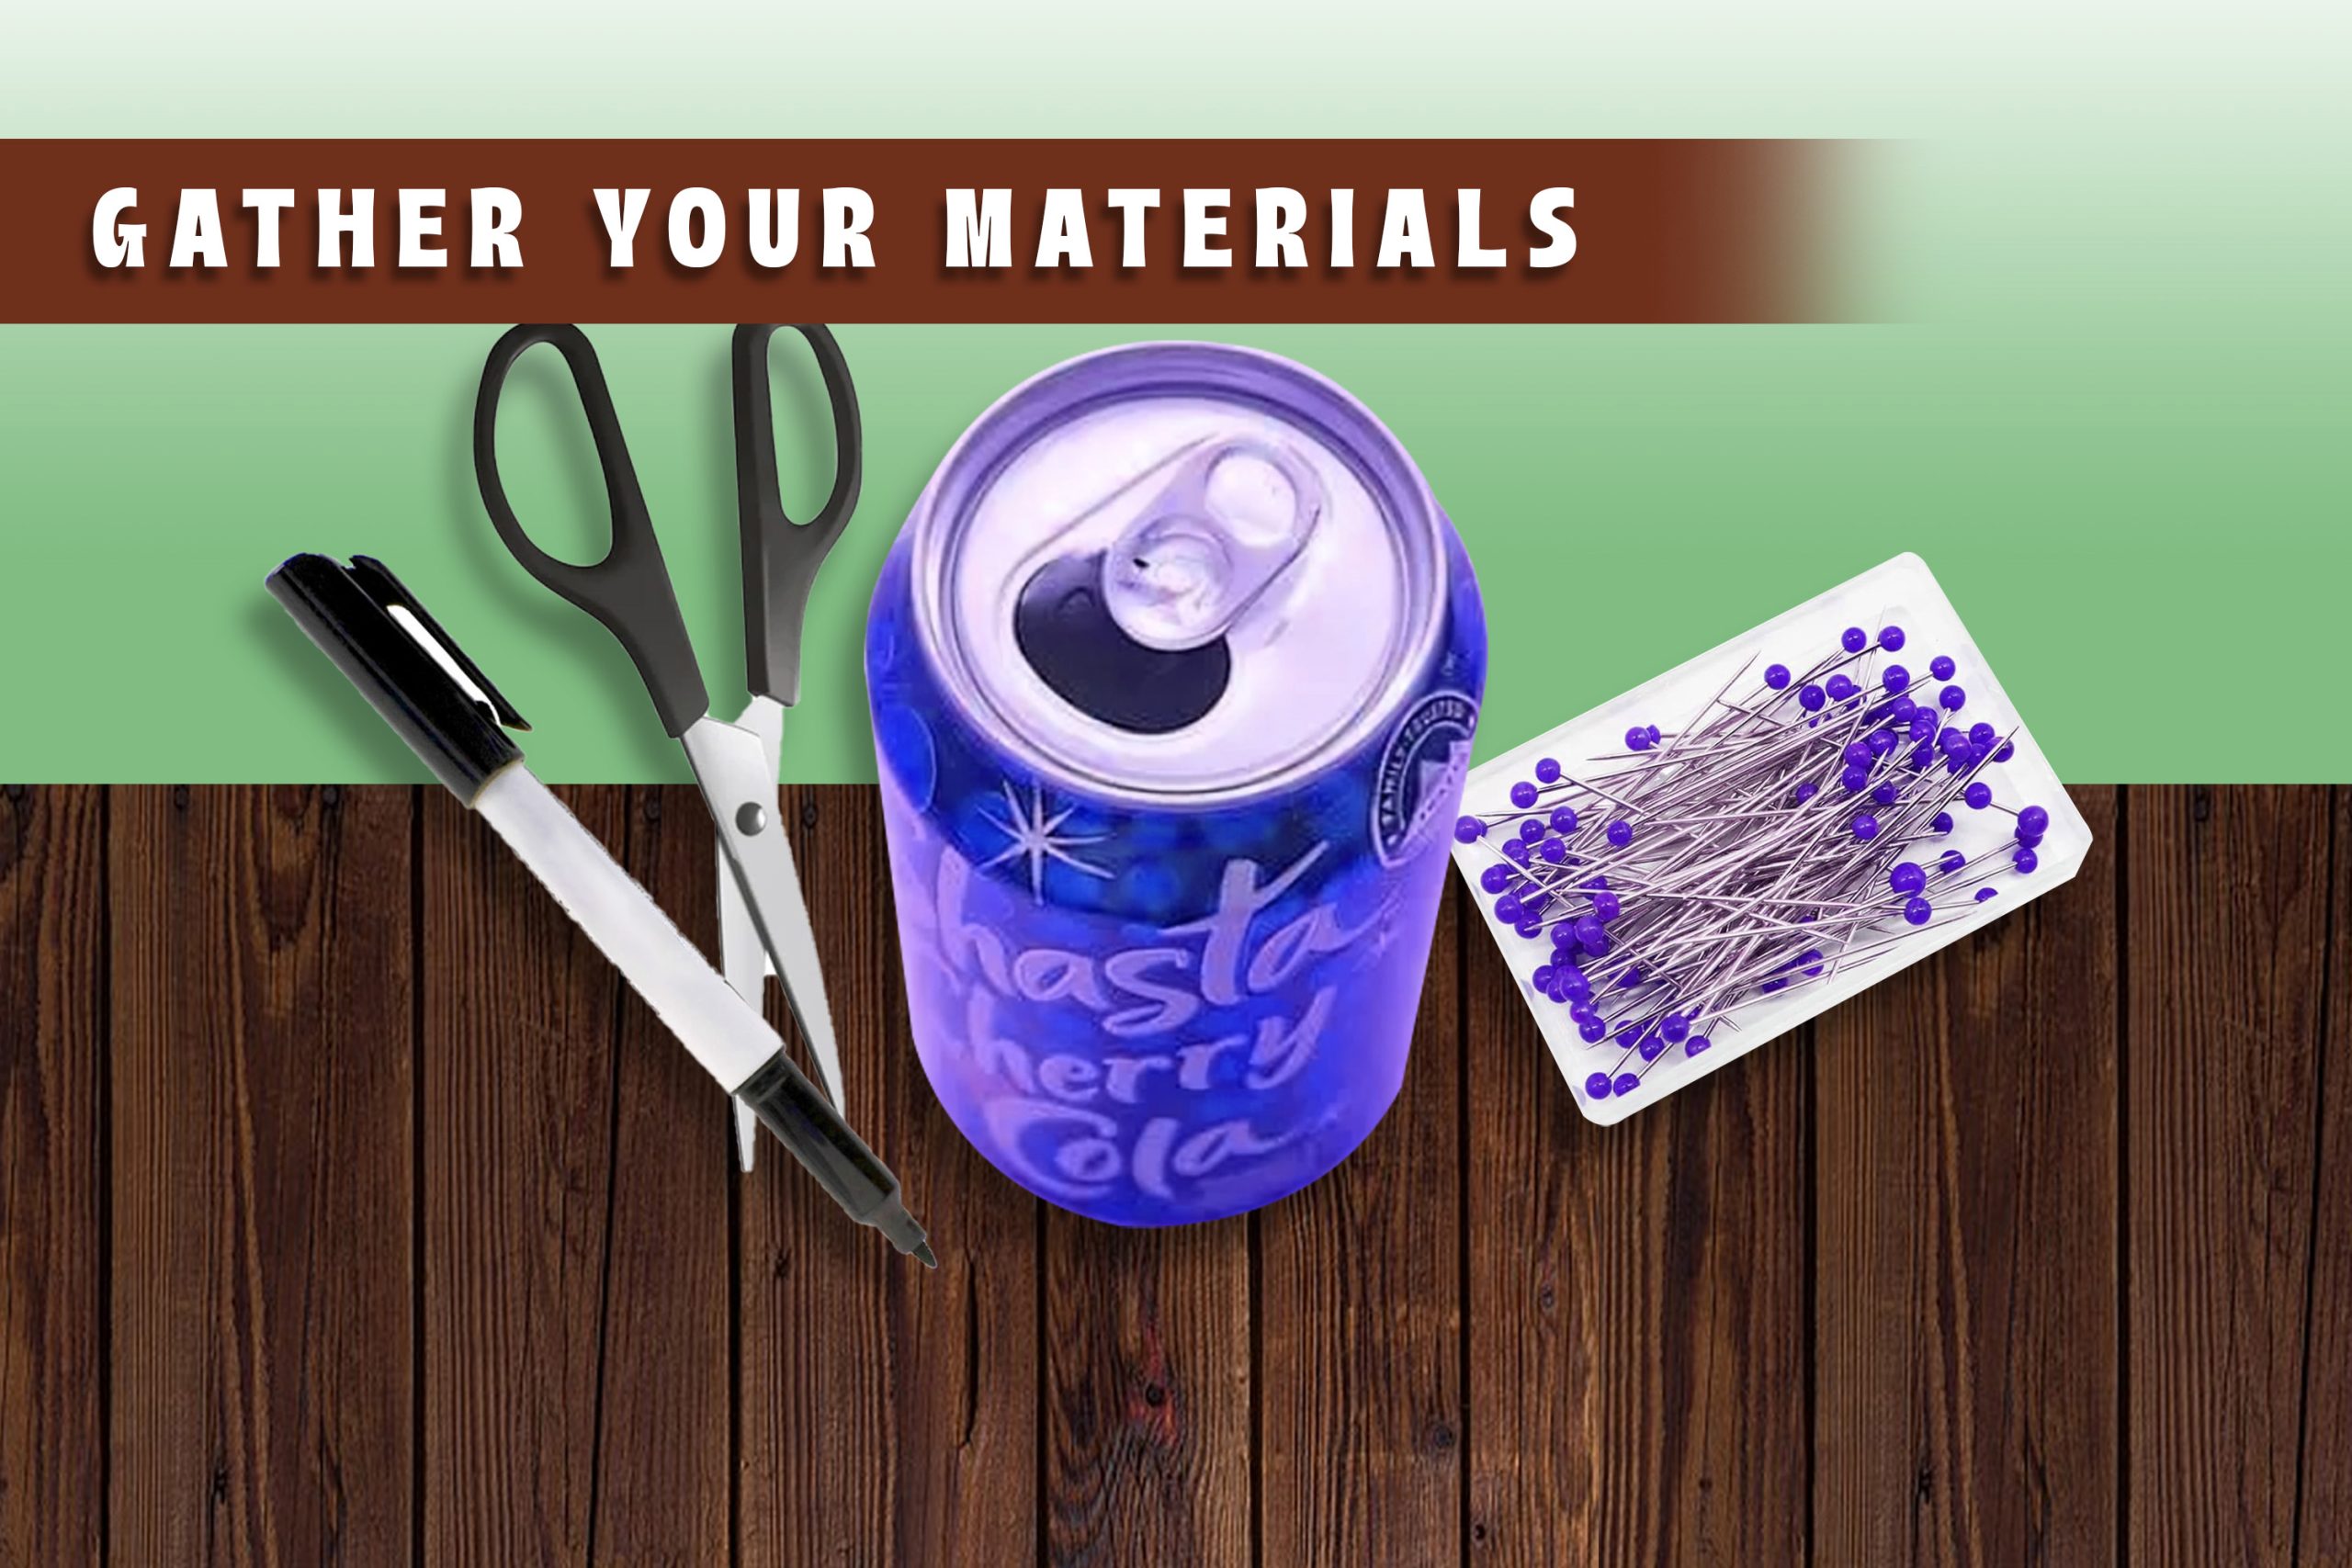
Before diving into the crafting process, gather the necessary materials. All you need is an aluminum can, a pair of scissors, a pen or marker, and optionally, a pushpin or needle for creating airflow holes.
- Aluminum Can: Choose a clean aluminum can free from any residue or labels.
- Scissors: Ensure you have a sturdy pair of scissors capable of cutting through the metal.
- Pen or Marker: This will be used for marking and guiding your cuts.
- Pushpin or Needle (Optional): Helpful for creating airflow holes in your homemade pipe.
2. Preparing the Can
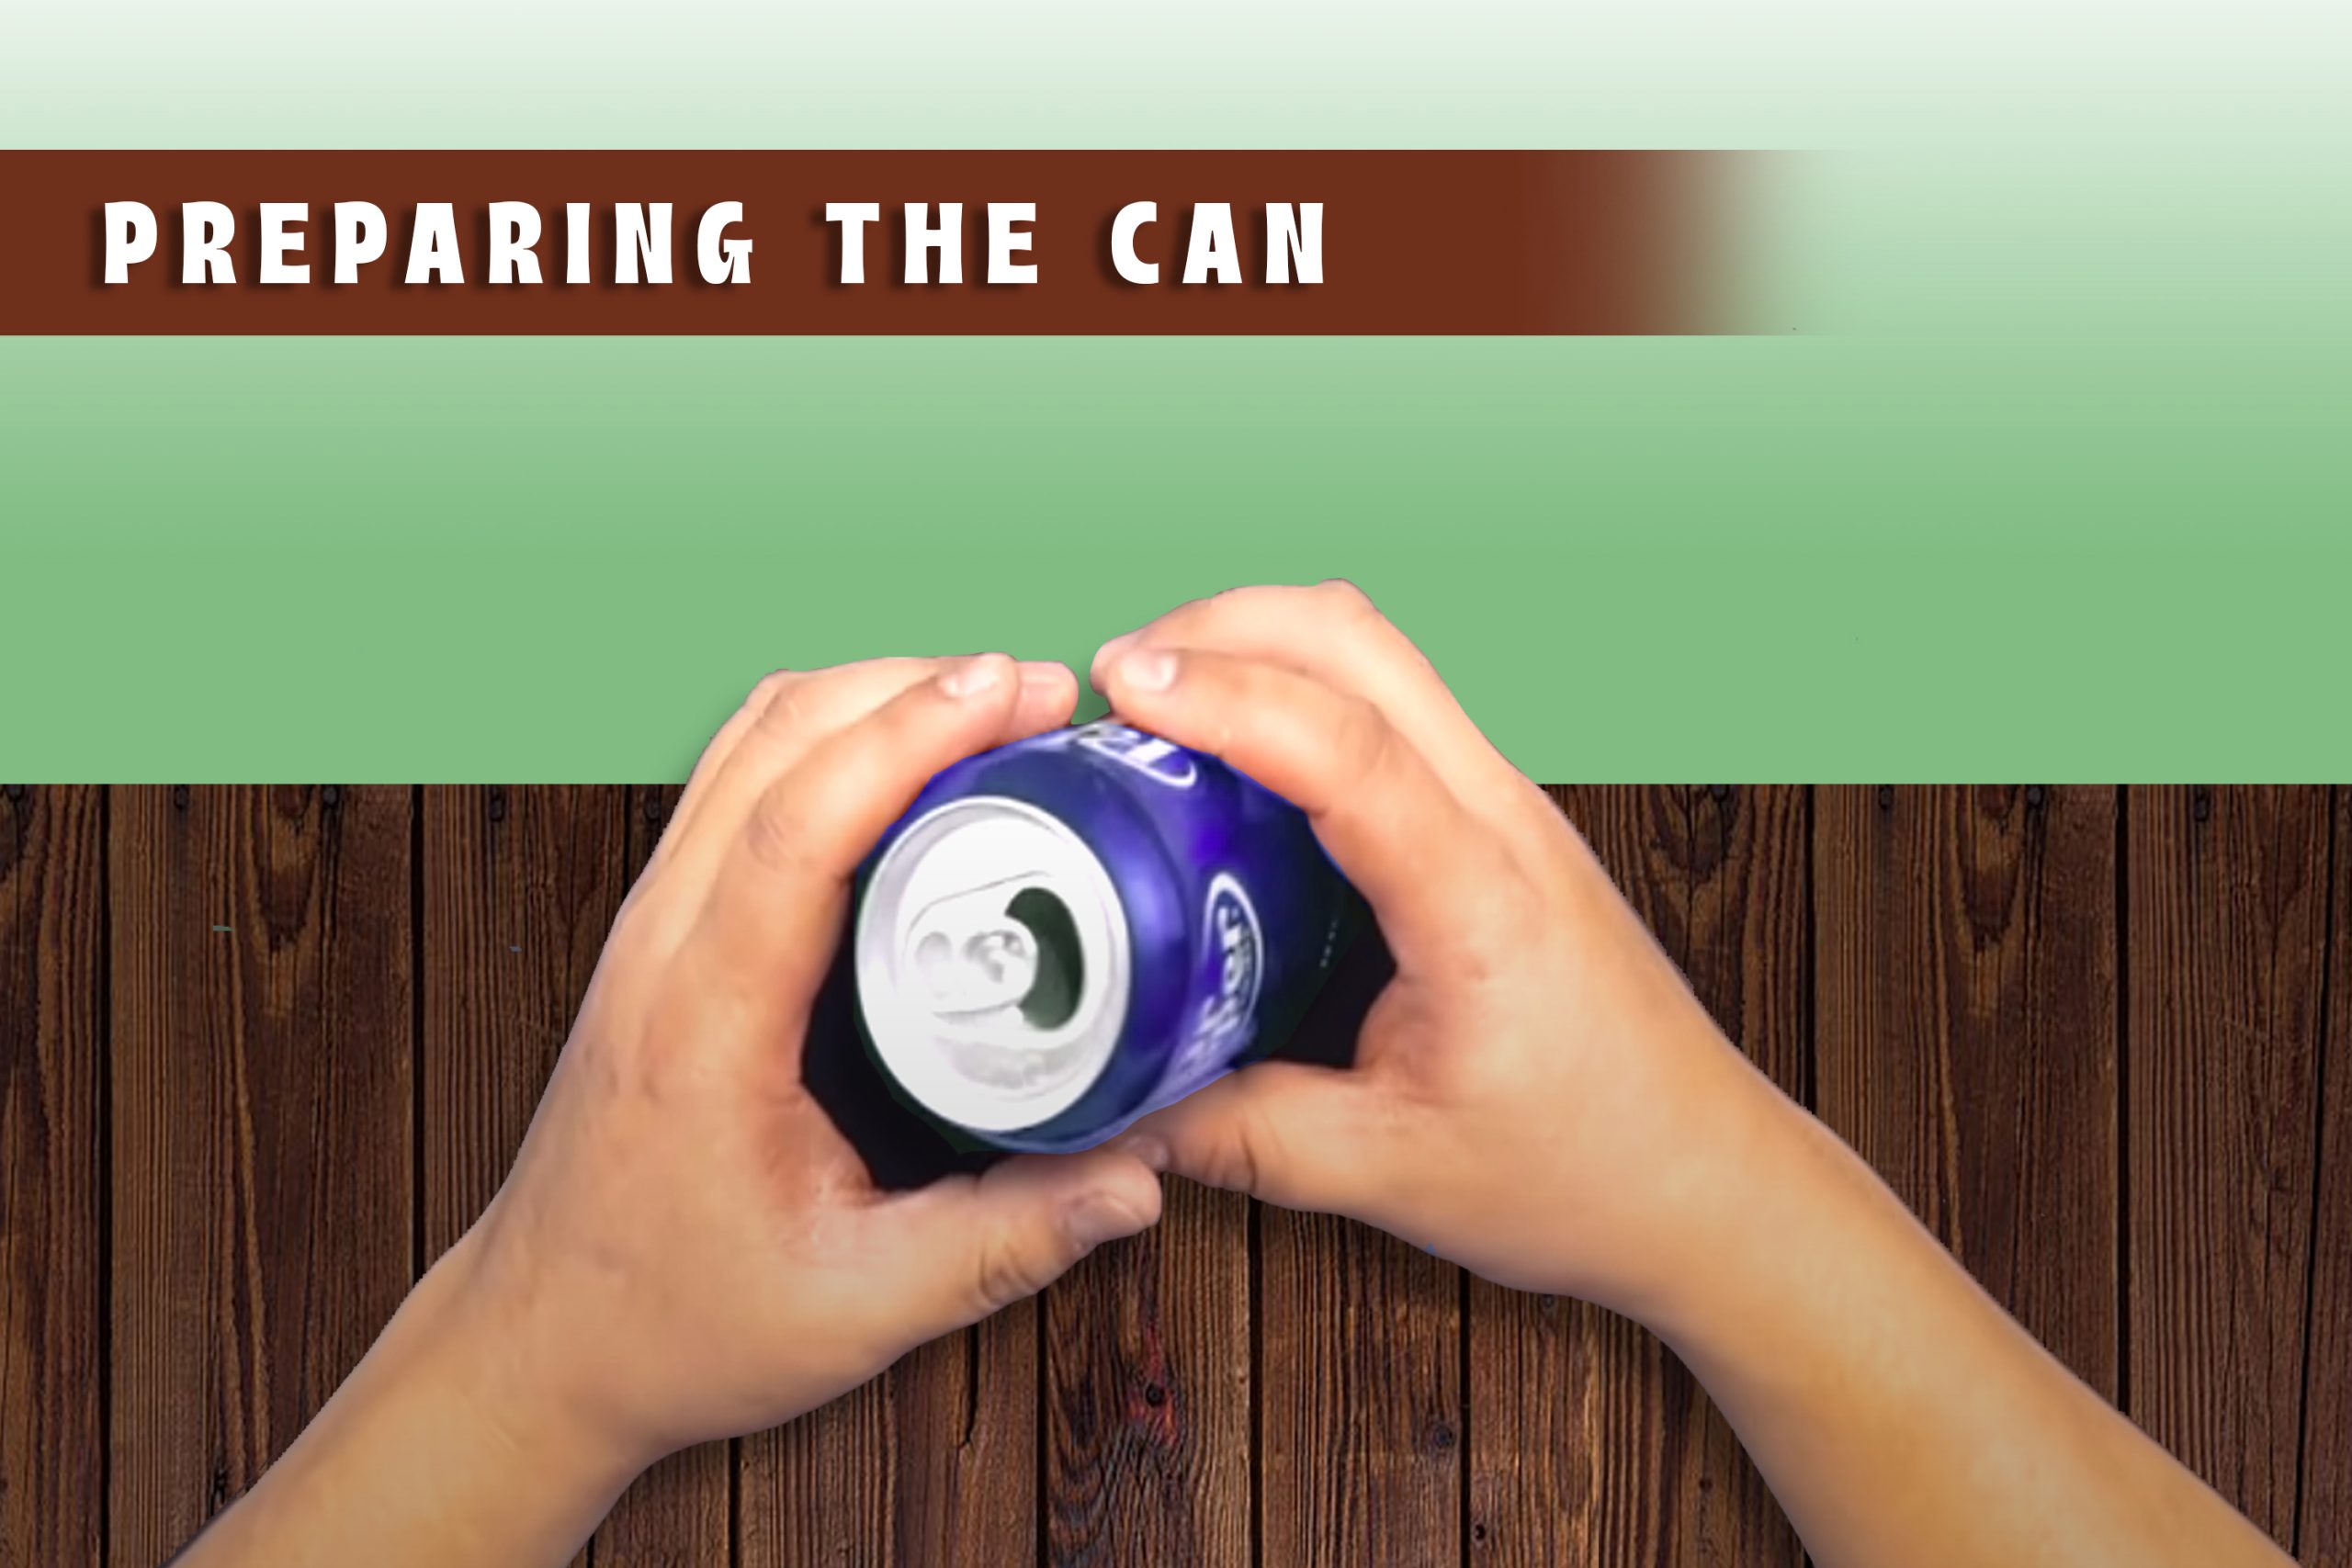
Start by rinsing out the can thoroughly to remove any leftover contents or debris. Once clean, remove the tab from the top of the can if it’s still attached. This will create a flat surface for easier cutting and manipulation. Use the scissors to carefully cut off the top portion of the can, just below the rim. Dispose of the removed section responsibly.
3. Creating the Bowl
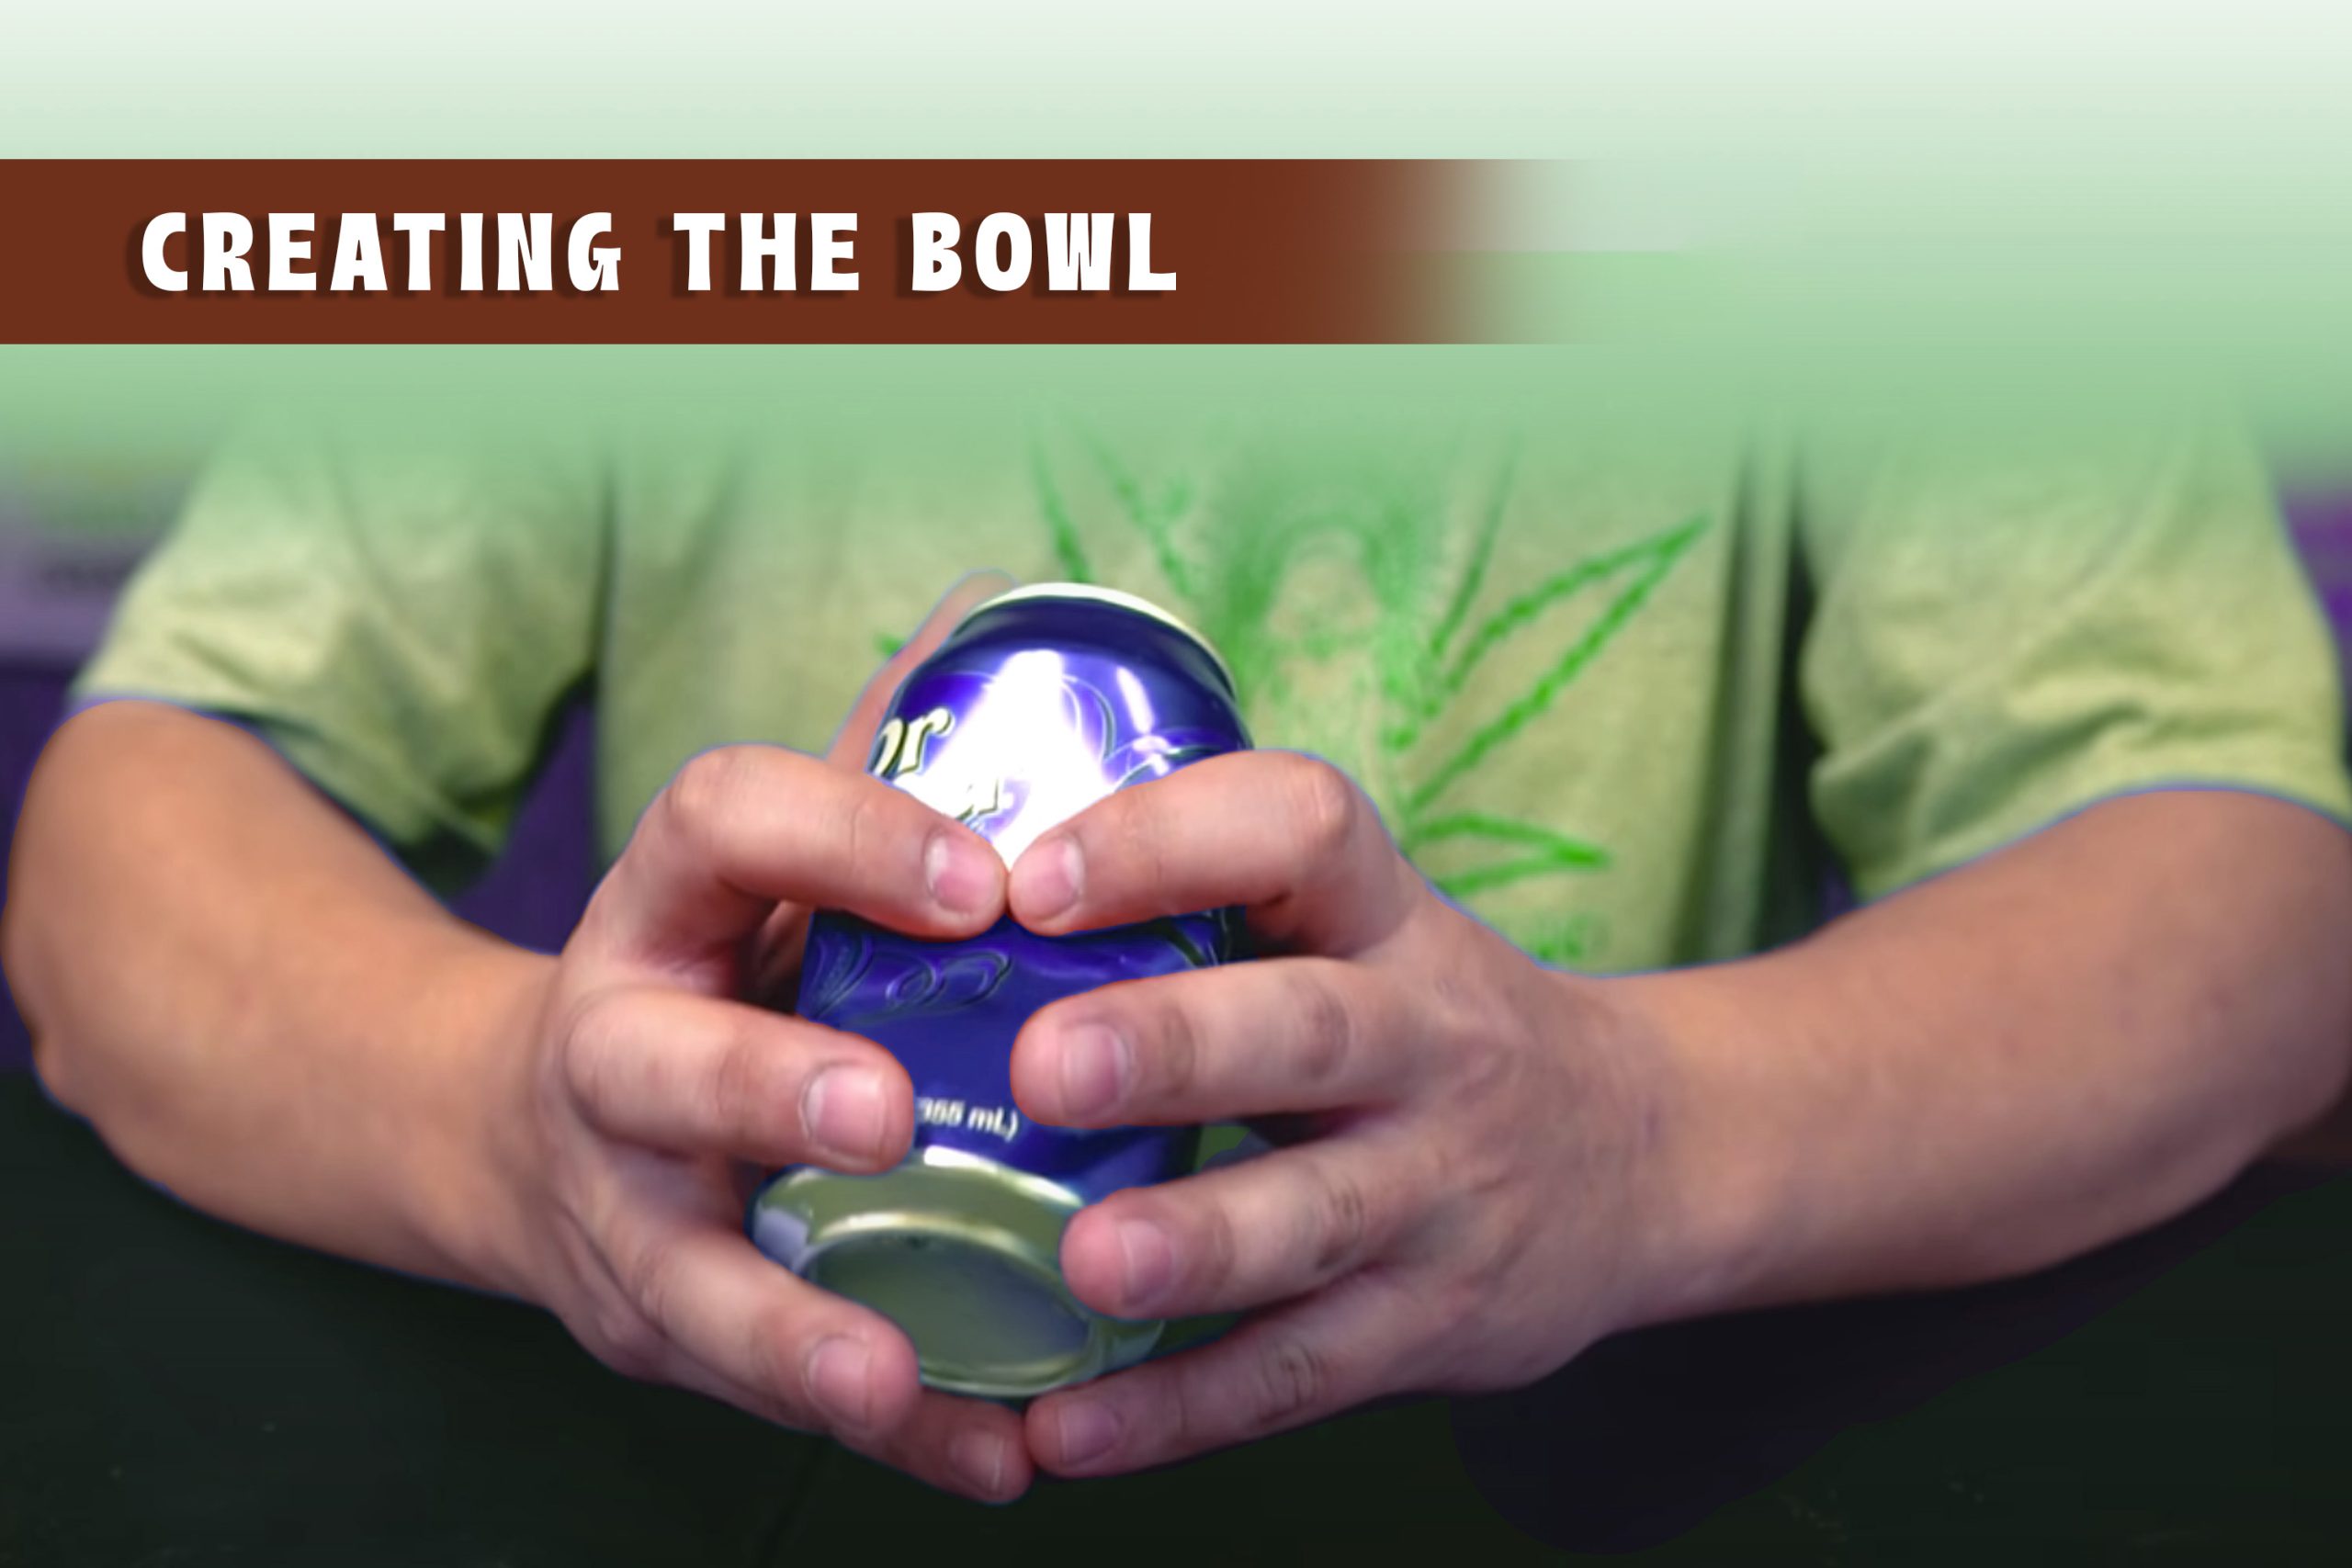
With the top removed, you’ll now focus on crafting the bowl of your homemade pipe. Using your pen or marker, draw a small circle near the center of the can’s side. This will serve as the location for your bowl. Take the scissors and carefully puncture the can at this marked point, creating a small hole. Gradually enlarge the hole to your desired size, keeping in mind the shape and depth you prefer for your bowl.
4. Designing the Mouthpiece

On the opposite side of the can from your bowl, you’ll create the mouthpiece. Similar to the bowl creation process, use your pen or marker to mark a spot near the center of the can’s side. Carefully puncture this spot with the scissors, creating another hole. This hole should be slightly larger than the bowl hole, as it will serve as the mouthpiece for inhaling.
5. Adding Airflow Holes
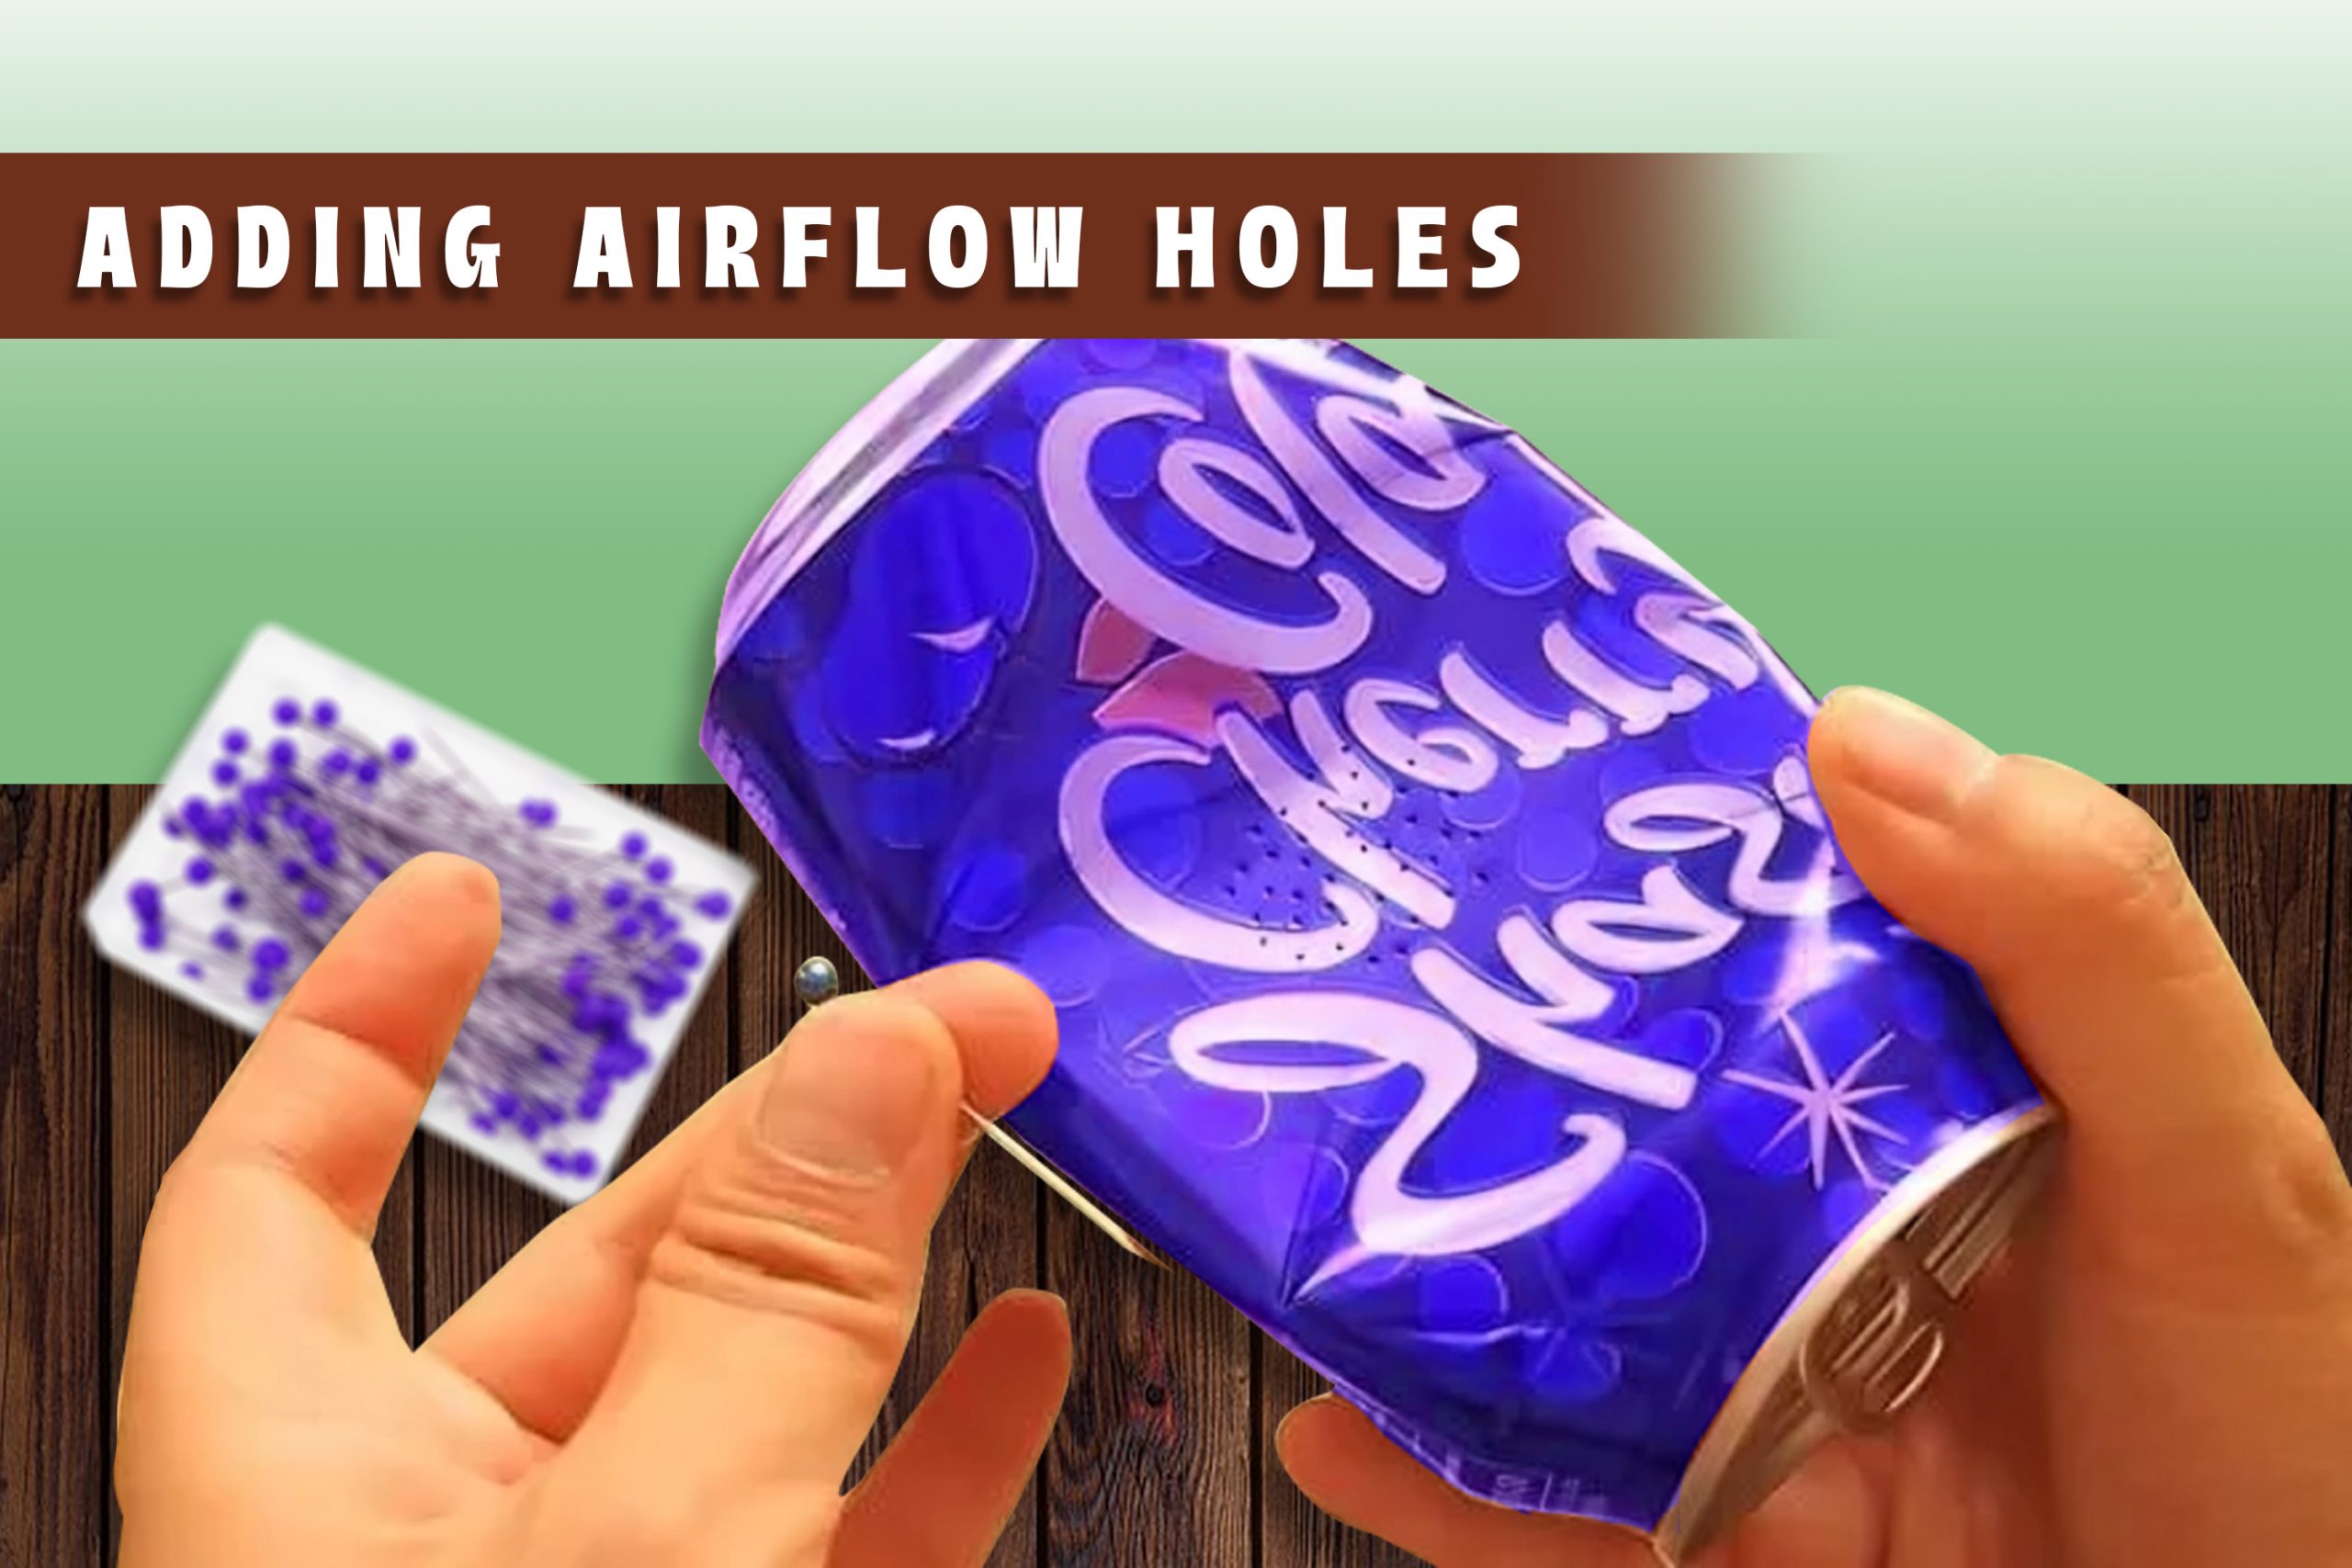
For optimal airflow and smoking experience, you can add additional holes to your homemade pipe. Using a pushpin or needle, carefully create small holes around the bowl area. These holes will allow air to flow through the pipe, aiding combustion and enhancing the draw.
6. Safety Considerations
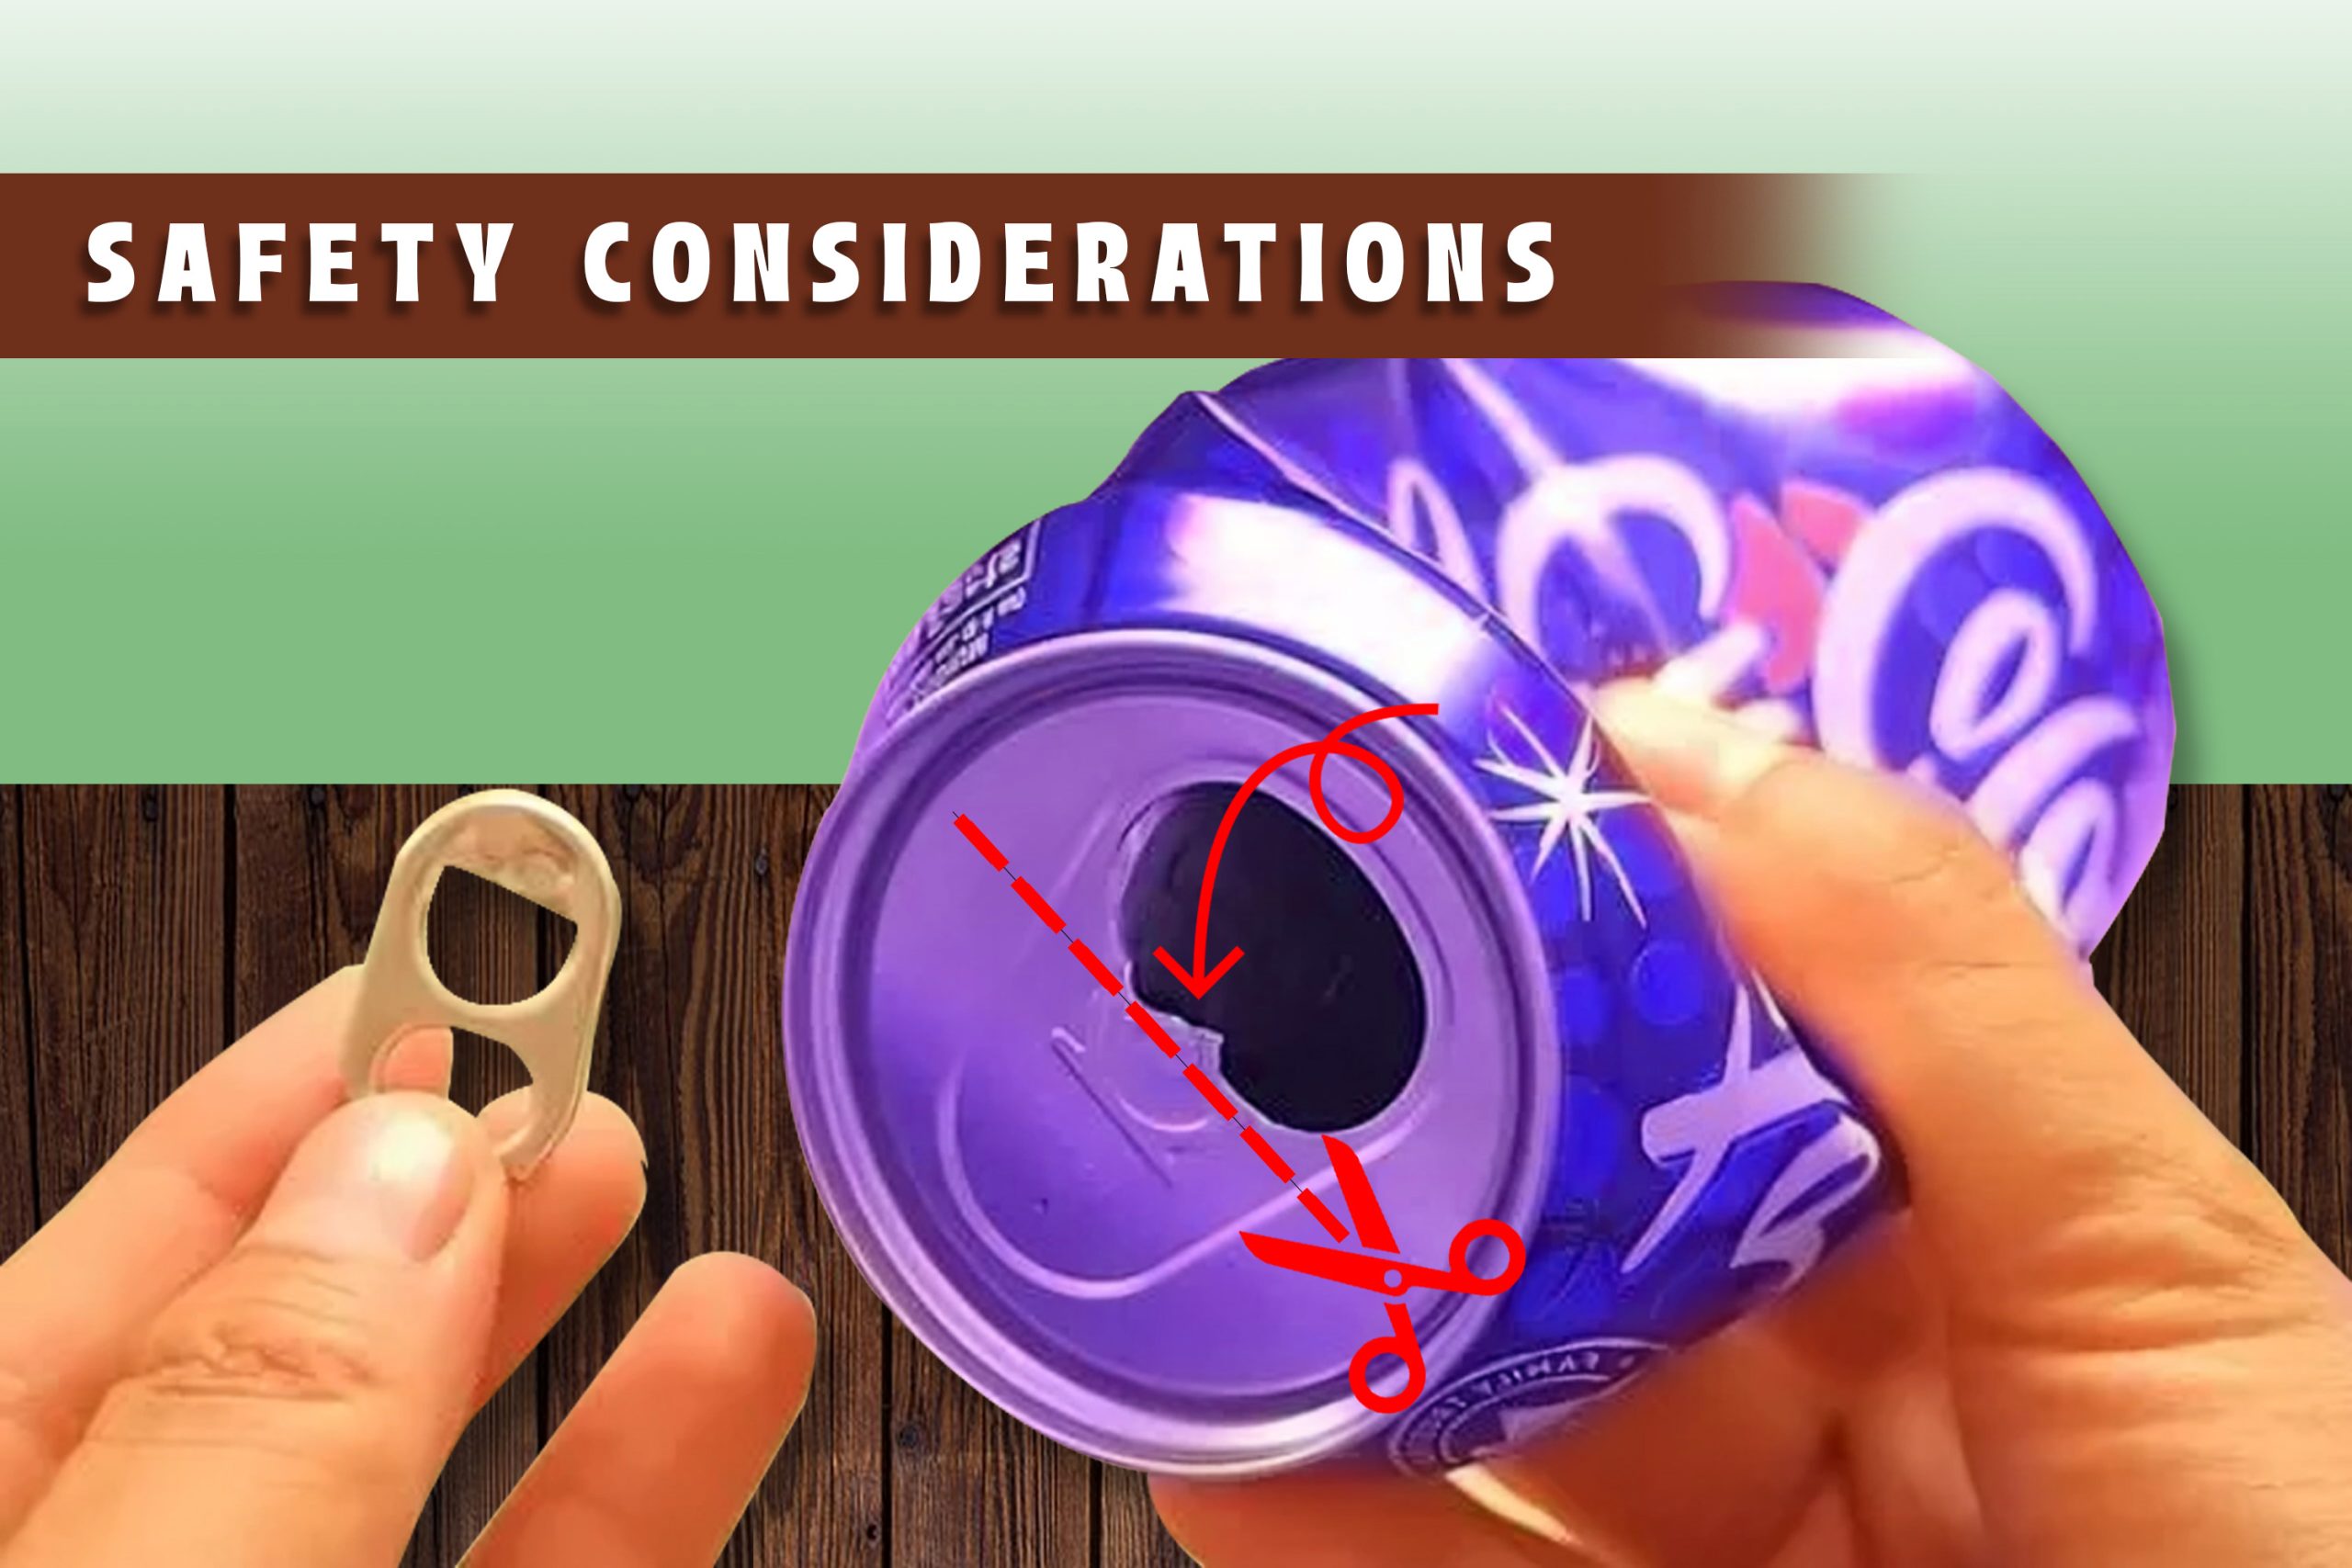
While crafting your homemade pipe, prioritize safety at all times. Avoid sharp edges by smoothing them out with the scissors or sandpaper. Additionally, be cautious when handling the aluminum can to prevent cuts or injuries. Always smoke responsibly and in accordance with local laws and regulations.
7. Testing and Adjustments
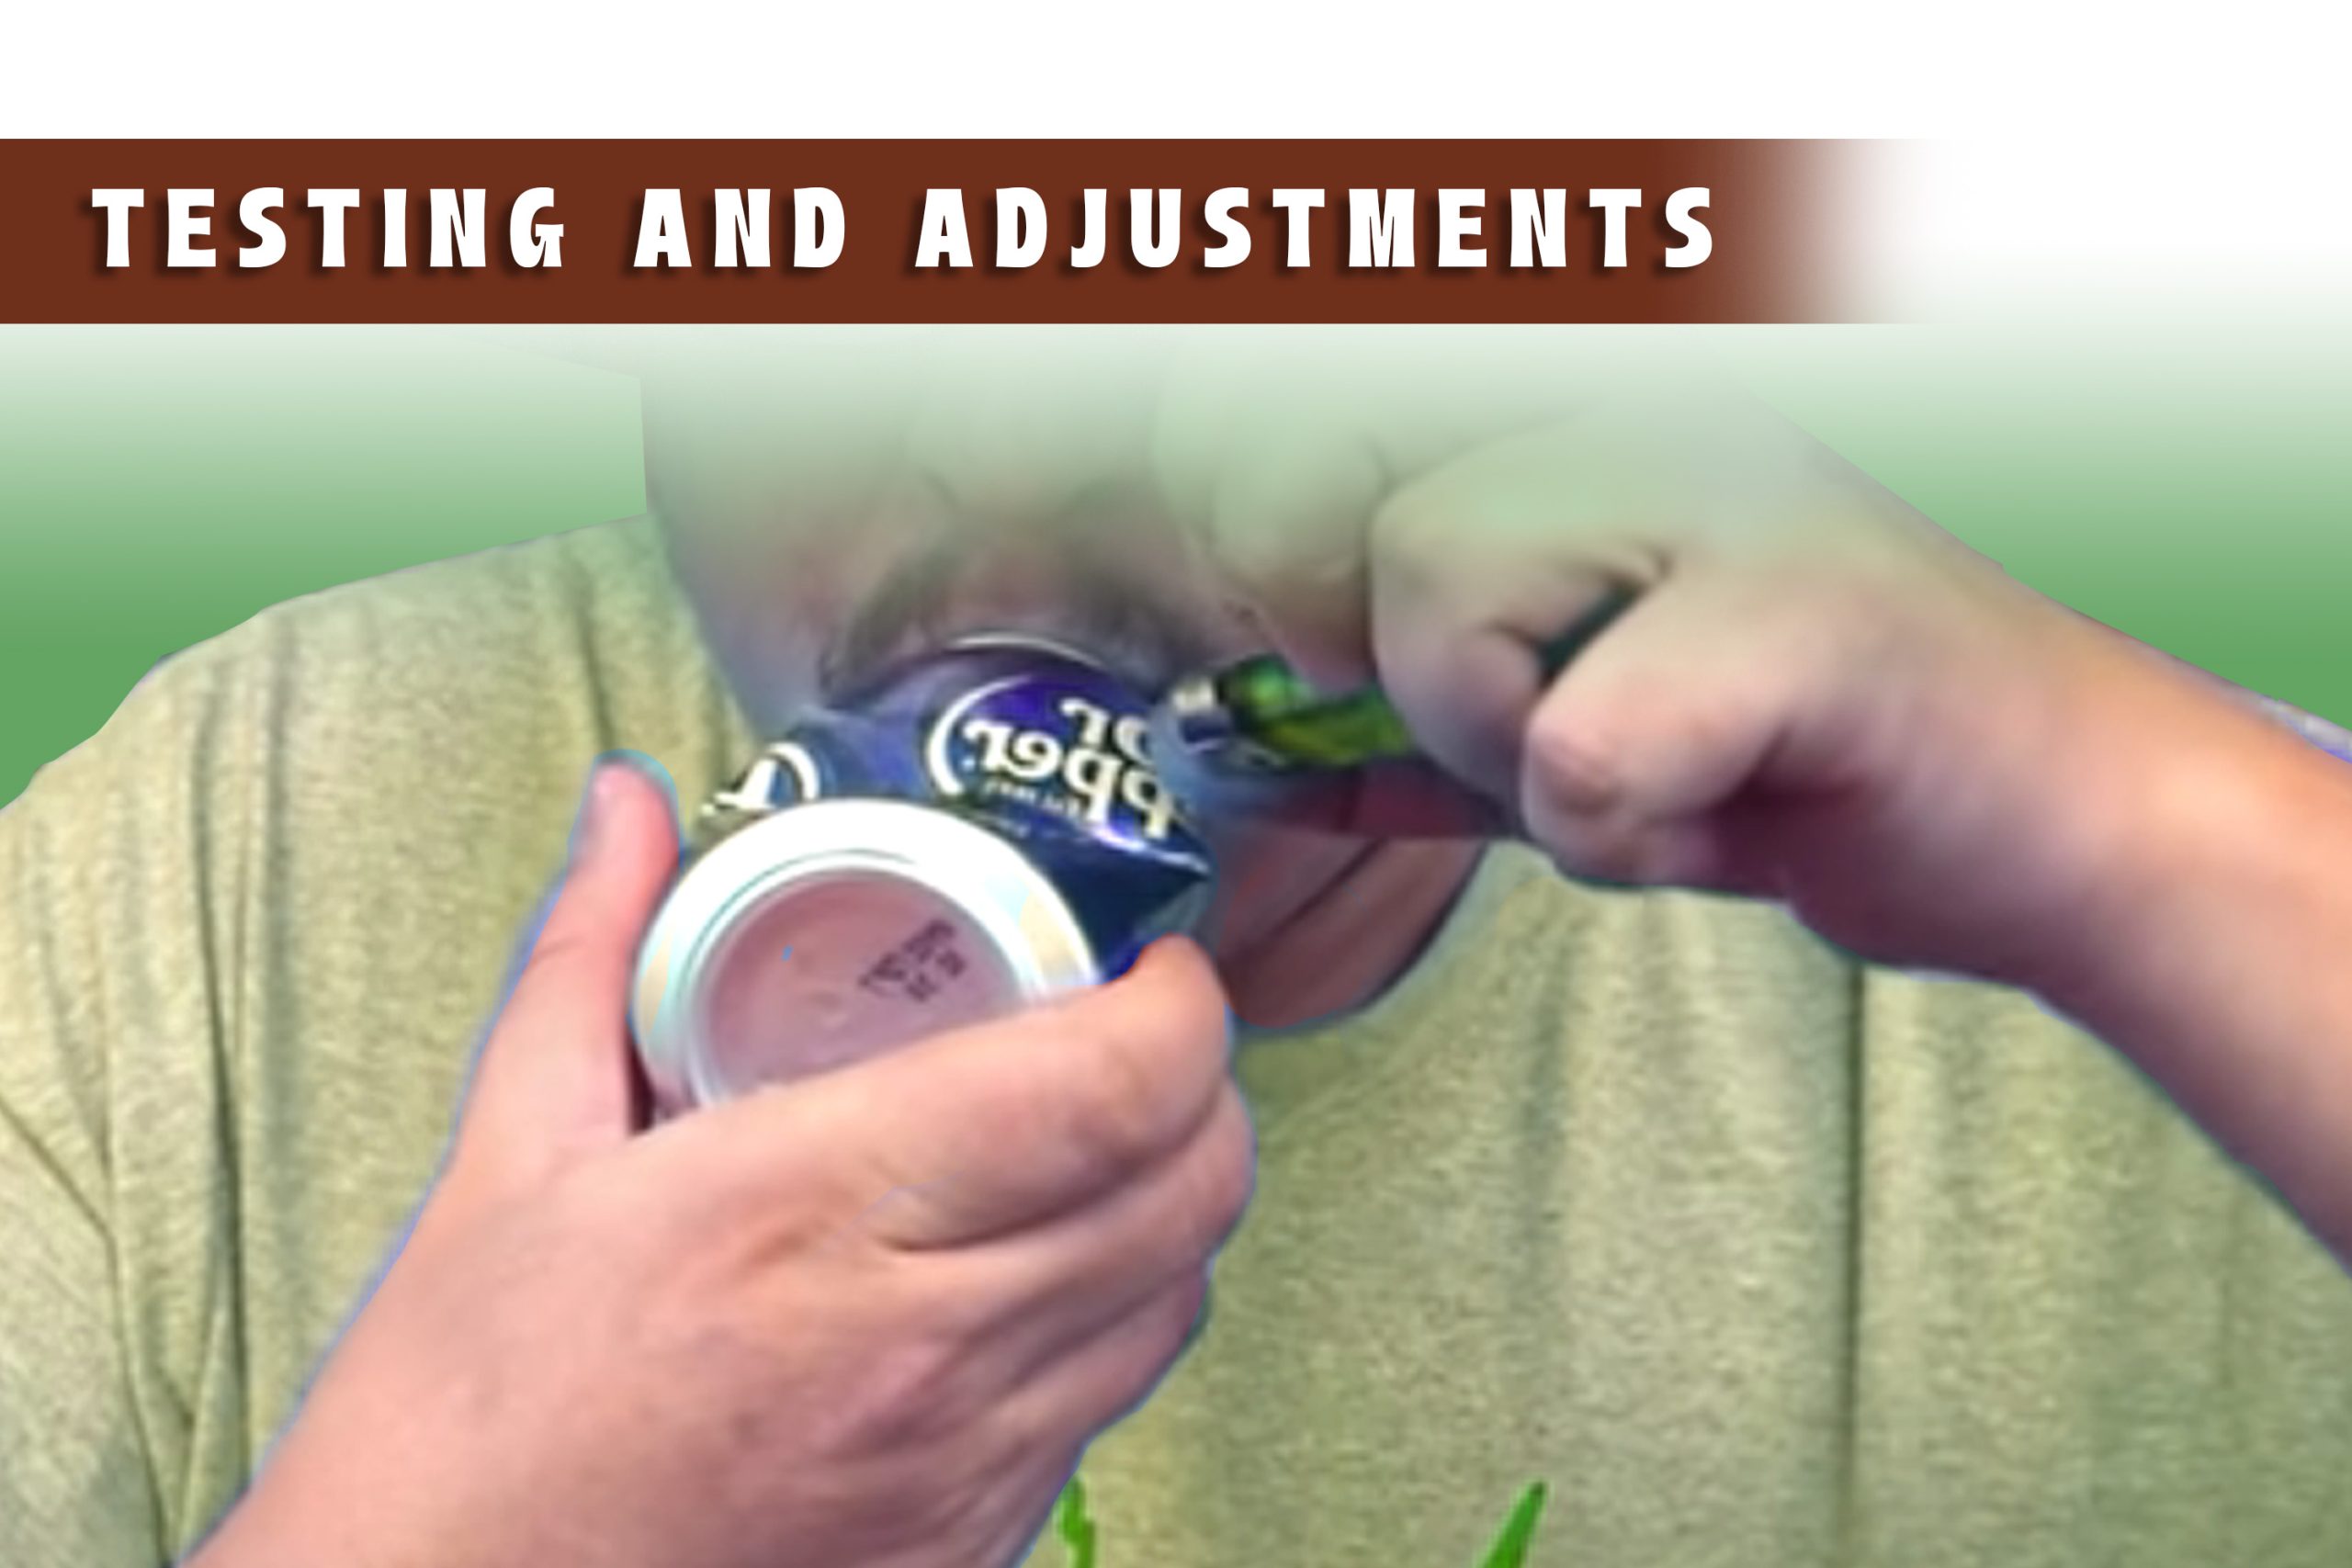
Once your homemade pipe is assembled, it’s time for testing. Load your bowl with your preferred smoking material and take a test draw. Assess the airflow and functionality of the pipe, making any necessary adjustments to improve performance. Experiment with different hole sizes and placements to find the optimal configuration for your homemade pipe.
8. Cleaning and Maintenance
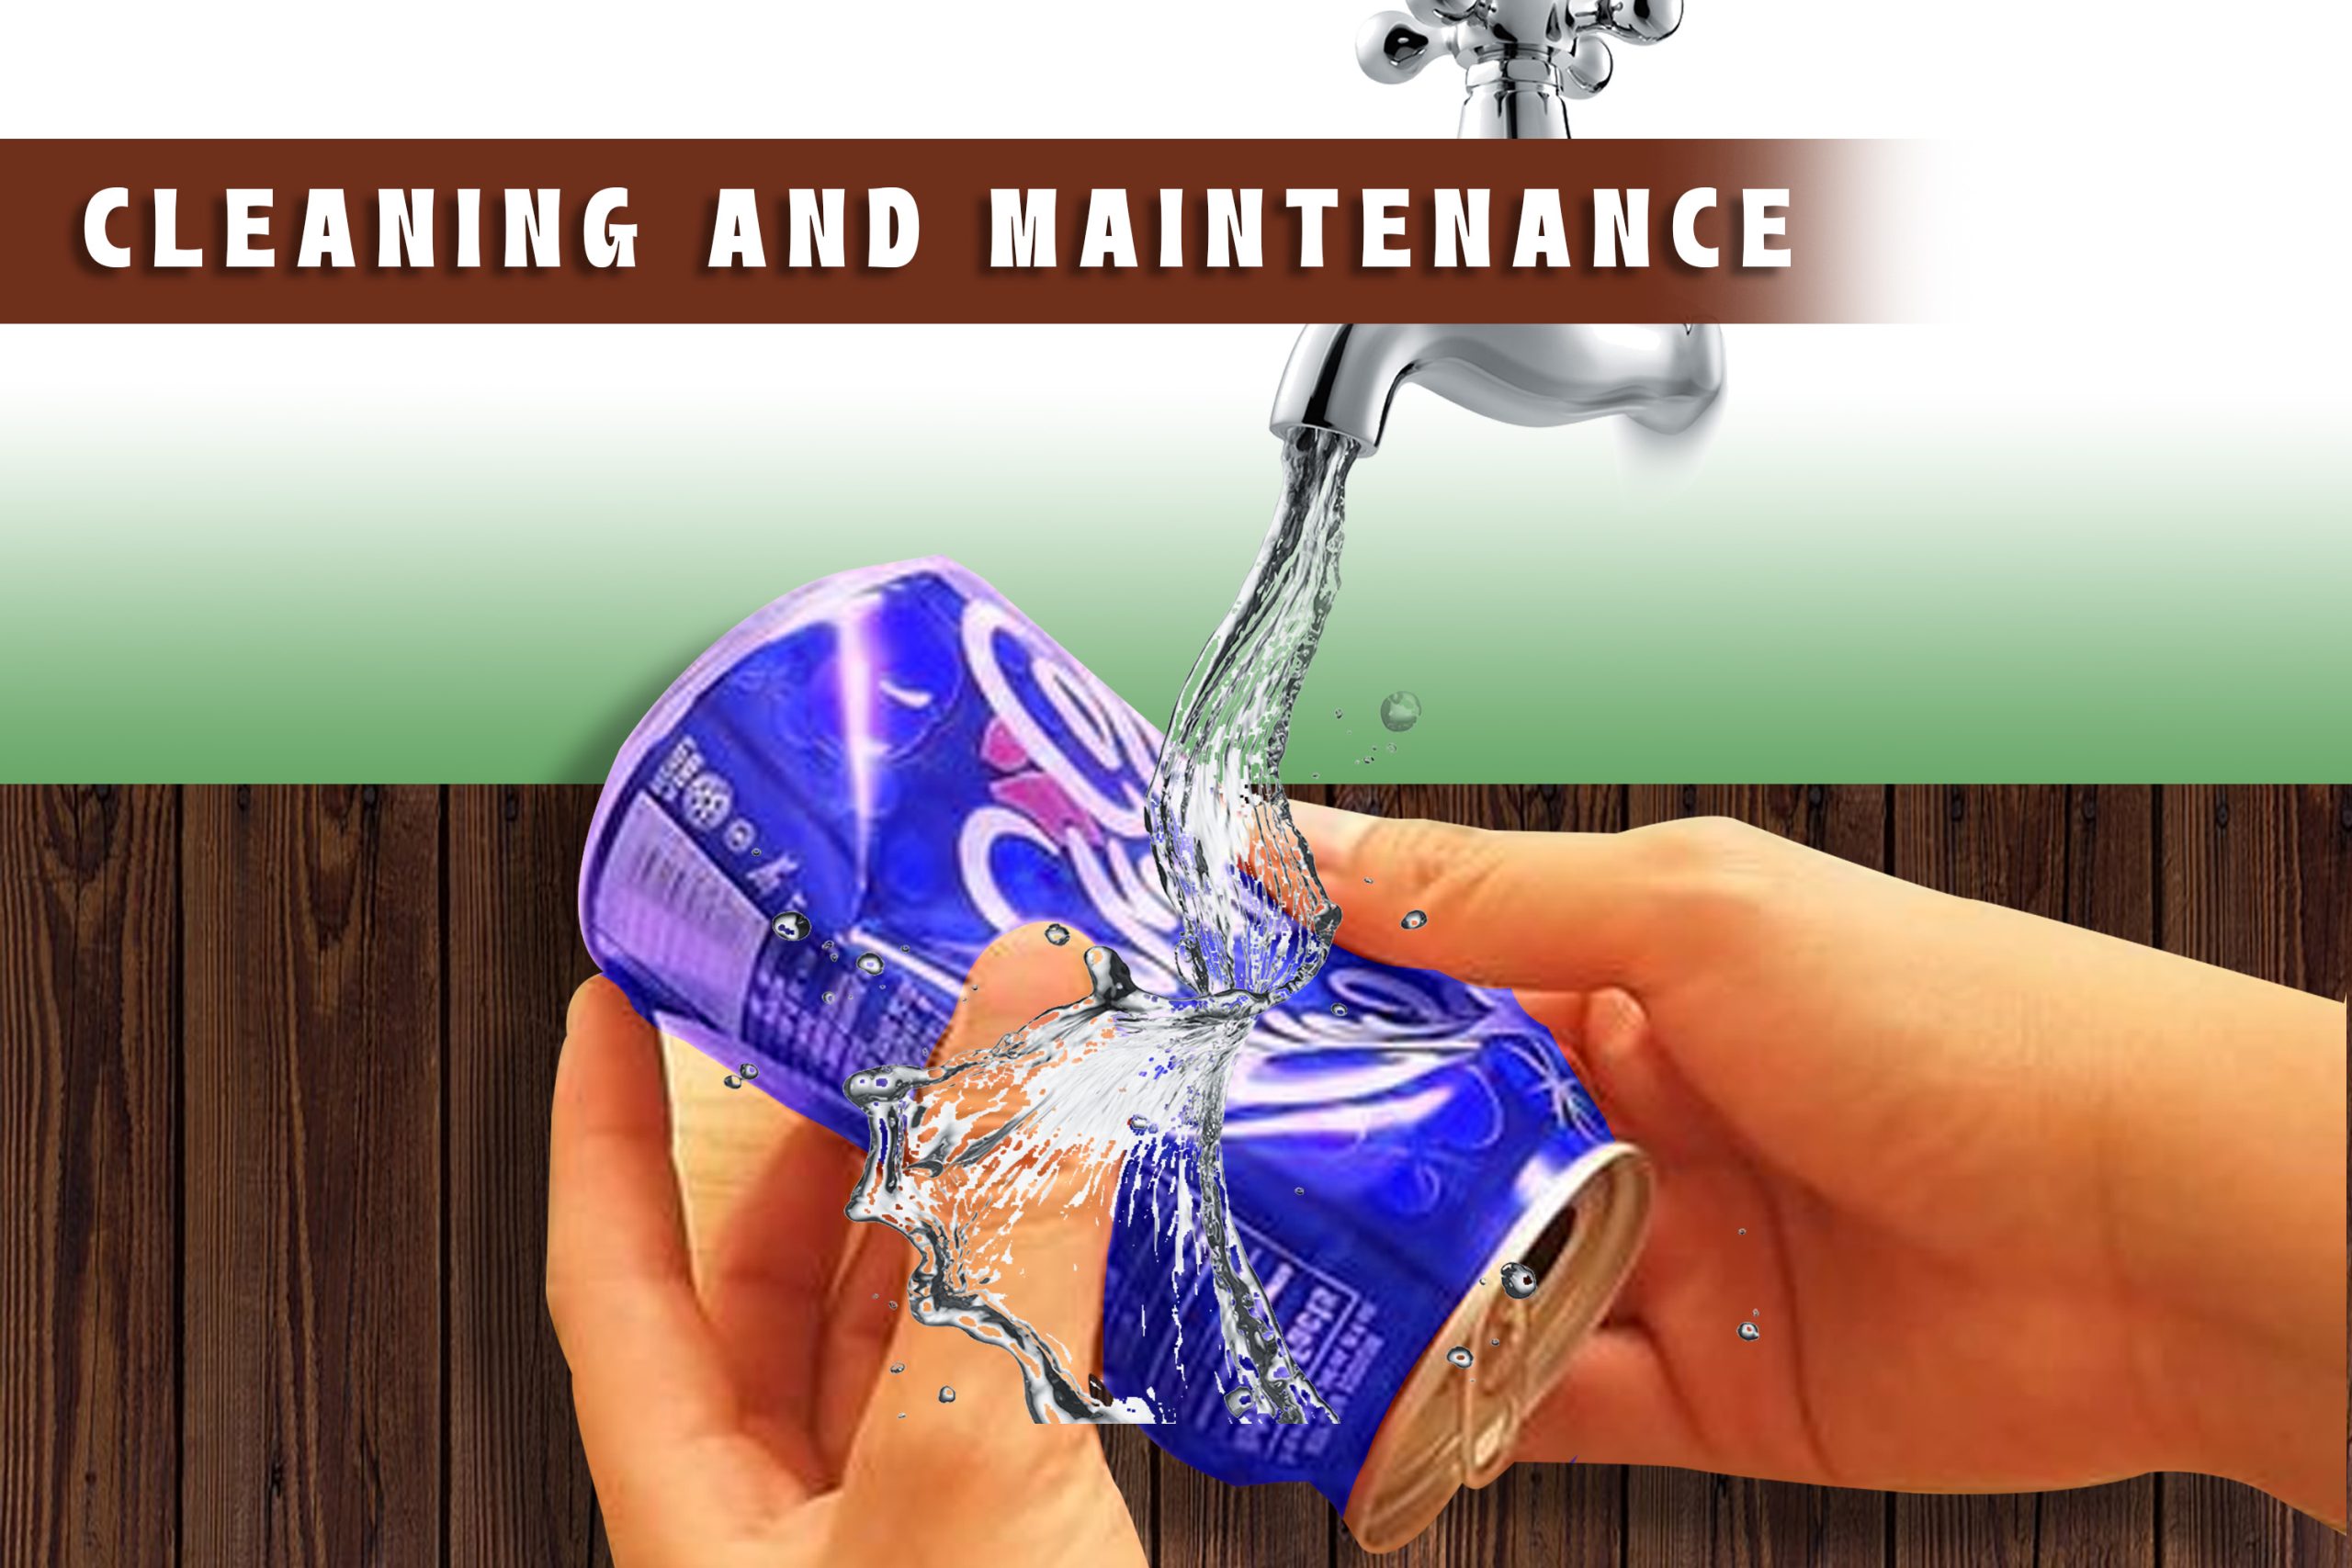
After each use, clean your homemade pipe thoroughly to remove any residue or buildup. Rinse it with warm water and mild soap, ensuring all traces of smoke are removed. Allow it to dry completely before storing it in a safe place. Regular maintenance will prolong the life of your homemade pipe and ensure a consistently enjoyable smoking experience.
Crafting a homemade pipe from a can provides a quick and accessible option for smokers seeking an easy bong can or pipe solution. By following these simple steps and safety guidelines, you can create a functional and reliable smoking device without the need for foil or specialized equipment. Enjoy your homemade pipe responsibly, and remember to prioritize safety and discretion in all your smoking endeavors.
Crafting a Homemade Bong without Foil
Crafting a homemade bong without foil is a practical and creative endeavor for smokers looking to enjoy their smoking experience without the need for specialized equipment. By repurposing everyday items found around the house, such as plastic bottles or glass jars, smokers can construct their own bong can inexpensively and conveniently. One of the key steps in making a homemade bong without foil is to create a bowl, which can be fashioned from various materials like metal sockets, glass pieces, or clay. Ensuring the stability of the chosen container and securing a tight fit for the bowl attachment are crucial elements in building a functional homemade bong can.
To enhance the smoking experience, smokers can experiment with DIY percolator designs using items like straws, beads, or ice cubes to improve smoke filtration and cooling. Additionally, customizing grips or mouthpieces with materials like rubber bands or tape adds a personal touch to the homemade bong for increased comfort and usability. Prioritizing safety by using heat-resistant materials, avoiding plastic near hot surfaces, and regularly cleaning the bong to prevent residue buildup are important practices for responsible smoking. By following these simple steps, smokers can enjoy their homemade bong without foil while exploring the versatility of DIY smoking accessories.
Conclusion
Mastering the art of crafting a homemade pipe from a can offers smokers a convenient and budget-friendly alternative for their smoking needs. By utilizing everyday household items, smokers can tap into their resourcefulness and create functional smoking devices without the use of foil, addressing health concerns associated with certain materials. This guide provides a comprehensive step-by-step process, ensuring safety and efficiency throughout the crafting journey.
By following the outlined instructions and considering safety precautions, smokers can enjoy a satisfying smoking experience with their best homemade pipes. From gathering materials to testing and maintenance, each step contributes to the creation of a reliable and personalized smoking device. Whether it’s for personal use or to share with friends, the knowledge gained from learning how to make a pipe out of a can proves invaluable in the world of DIY smoking accessories. So, embrace your creativity, enjoy your homemade pipe responsibly, and remember to prioritize safety above all else.
FAQs
1. What are some common materials used to create homemade bowls for bongs?
Homemade bowls for bongs can be crafted from various materials, including metal sockets, glass pieces, or clay. Experimenting with different materials allows for customization and personalization of the smoking experience.
2. Can I use a can to make a homemade pipe or bong?
Yes, you can utilize a can to make a homemade pipe or bong. By following safety precautions and properly preparing the can, you can create a functional smoking device without the need for foil.
3. What are some benefits of crafting a homemade pipe or bong from a can?
Crafting a homemade pipe or bong from a can offers smokers a cost-effective and creative alternative to traditional smoking devices. It promotes resourcefulness, allows for customization, and reduces reliance on specialized equipment.
4. How do I clean and maintain my homemade pipe?
After each use, rinse the homemade pipe thoroughly with warm water and mild soap to remove any residue. Allow it to dry completely before storing it in a safe place. Regular maintenance ensures a consistently enjoyable smoking experience.
5. Is it safe to make a pipe out of a can?
When done properly and with caution, making a pipe out of a can can be safe. It’s important to clean the can thoroughly, avoid sharp edges, and handle the aluminum carefully to prevent injuries.